In our January Nature Study at The Wild Schooler, we are building campfires, making hot chocolate and roasting marshmallows so we need a good homemade marshmallow recipe to go along with all that!
Not only is this organic homemade marshmallow recipe sweet and comforting, it’s made with organic non-GMO ingredients. Throughout the steps of this recipe, we’ve included discussion questions you can ask your kids while you make these to get them thinking about the science behind how homemade marshmallows are made.
This is part of our January Nature Study, but feel free to use the recipe anytime, anywhere.
Ok, let’s make some organic homemade marshmallows! 🙂
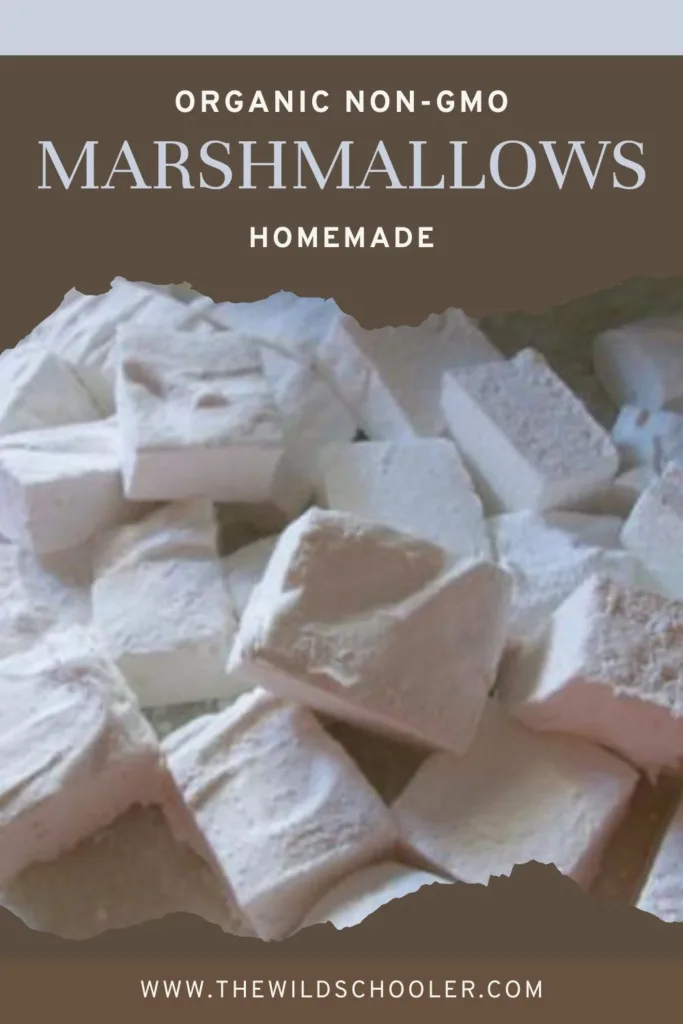
Ingredients for Marshmallows
- 2 1/2 Tbsp of gelatin (We use Non-GMO Grass Fed Gelatin)
- 1 cup cold water, divided
- 1 1/2 cups granulated sugar
- 1 cup light corn syrup (We use Wholesome Sweeteners Organic Light Corn Syrup)
- 1/4 teaspoon salt
- 1 teaspoon pure vanilla extract
- Confectioners’ sugar for dusting
Equipment You’ll Need
- Mixer (stand or handheld)
- Candy thermometer
- Square baking pan
- Parchment paper
Step 1: Prepare Your Workspace
Create a cozy kitchen space by clearing the counters and setting up your ingredients.
Engage your homeschoolers by asking, “Where do you think marshmallows come from?” and discussing the properties of gelatin. Let them touch it and ask, “What does it feel like?”, and “What do you think will happen when we mix it with water?”
Step 2: Bloom the Gelatin
In a large mixing bowl, let your child combine the gelatin with 1/2 cup of cold water.
Allow it to sit and “bloom” while you move on to the next steps.
Ask your child, “Do you see the gelatin changing at all? What does it look like now compared to when we started?”
Step 3: Cook the Sugar Syrup
In a saucepan, combine the granulated sugar, corn syrup, and the remaining 1/2 cup of cold water. Stir over medium heat until the sugar dissolves. Attach your candy thermometer and let it cook without stirring until it reaches 240°F (soft-ball stage).
Ask your child, “What’s happening to the sugar mixture as it heats up? Why do you think we need the thermometer?”
Step 4: Mix and Whip
With your mixer on low speed, slowly pour the hot sugar syrup into the bloomed gelatin. Gradually increase the speed to high and beat until the mixture becomes thick, glossy, and holds stiff peaks.
This is a great time to discuss the transformation of ingredients through whipping.
Ask your child, “How does the mixture change as we beat it? What do you notice about its texture?”
Step 5: Add Flavor and Set
Mix in the salt and vanilla extract (or other extract you have on hand), giving your homemade marshmallow fluff a delightful flavor.
Transfer the mixture into a parchment paper-lined square baking pan, spreading it evenly. Let it set at room temperature for at least 4 hours, or preferably overnight.
Ask your child, “Can you smell the vanilla? How do you think the marshmallows will change as they set?”
Step 6: Cut and Enjoy!
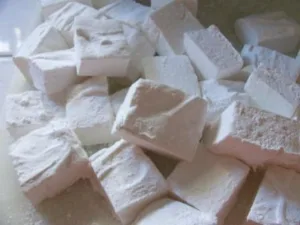
Once your homemade marshmallows have set, dust a cutting board with confectioners’ sugar and invert the pan onto it. Cut your marshmallows into squares using a knife or fun-shaped cookie cutters. Toss the marshmallows in more confectioners’ sugar to prevent sticking.
Ask, “What shapes do you want to cut the marshmallows into? How do they feel compared to store-bought marshmallows?”
You’ve just created a batch of fluffy, homemade marshmallows, perfect for cozy January days. This activity not only nurtures your child’s creativity but also provides an opportunity to explore science, math, and the joys of working together in the kitchen.
Make sure you save some of these! You’ll need them for our campfire and hot cocoa activities in your January Nature Study guide.


